
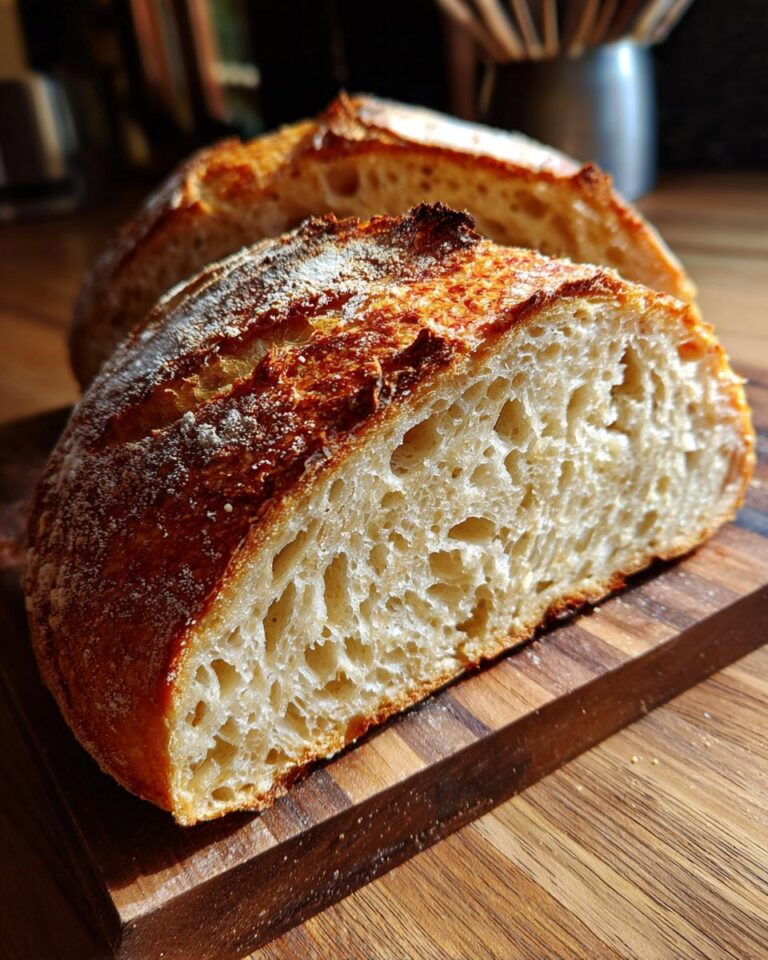
Oh my goodness, let me tell you about this Quick And Easy No-Knead Bread! If you’ve ever looked at those gorgeous artisan loaves in bakeries and thought, “There’s NO WAY I can make that,” then this recipe is for YOU. Seriously, it’s my go-to when I want that incredible, crispy crust and fluffy, chewy inside without all the fuss. I remember the first time I tried a no-knead recipe like this; I was convinced it was a trick. I mean, you just mix some stuff, leave it overnight, and BAM – bread! It felt like magic, and honestly, it still does a little bit. After years of tinkering with bread recipes, this particular no-knead method is just SO reliable. It’s the secret weapon in my kitchen for when I crave amazing homemade bread without spending hours slaving over a hot oven.
Why You’ll Love This Quick And Easy No-Knead Bread
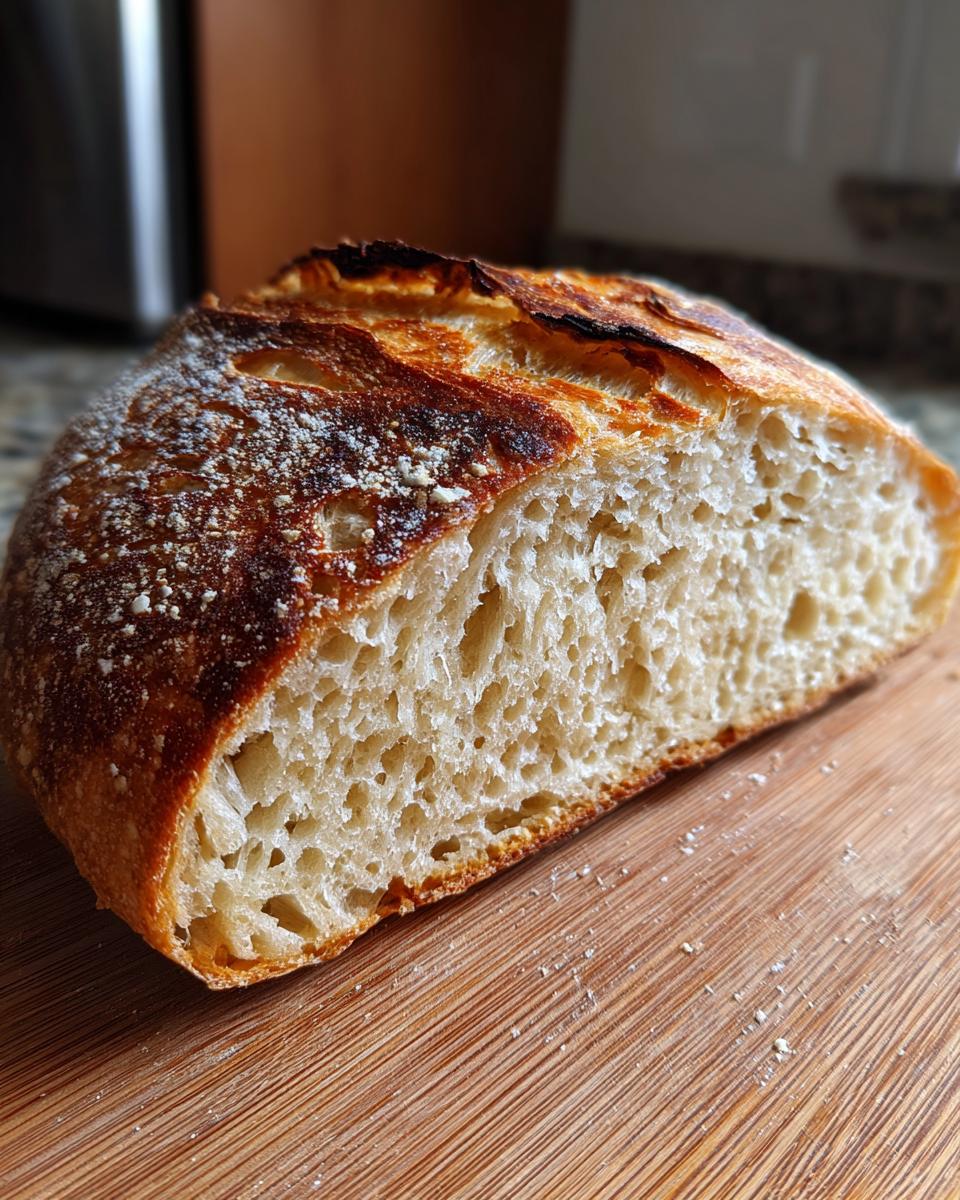
Honestly, what’s not to love about this recipe? It’s pure baking bliss with hardly any effort on your part. You get that stunning, crackly crust and that soft, airy inside that just screams “eat me!” It’s seriously the perfect recipe for anyone just starting out with bread baking, or even if you’re a seasoned pro who just wants a break from all the kneading. Plus, you probably already have most of the ingredients in your pantry!
- Minimal active preparation time – just a few minutes to mix!
- Impressive crust and soft interior that rivals any bakery.
- Perfect for beginner bakers; it’s practically foolproof.
- Only a few simple ingredients are needed.
Gathering Your Ingredients for Quick And Easy No-Knead Bread
Alright, let’s get our ducks in a row for this magical bread! The beauty of this recipe is how simple the ingredient list is. You probably have everything you need in your pantry right now, which is my favorite kind of recipe. No fancy stuff, just good old staples that come together to make something truly special. Trust me, getting these measurements just right is key to that perfect crust and fluffy crumb we’re aiming for!
Essential Ingredients for Your No Knead Bread Recipe
Here’s what you’ll need. Make sure to measure your flour by spooning it into the cup and leveling it off – don’t just scoop directly from the bag, or you might end up with too much flour! And that yeast? Make sure it’s active; stale yeast is a sad day for bread.
- 3 cups all-purpose flour (spooned and leveled)
- 1/4 teaspoon active dry yeast
- 1 1/2 teaspoons salt (I really love fine sea salt here, it dissolves nicely)
- 1 1/2 cups lukewarm water (around 105-115°F or 40-46°C – think warm bathwater, not hot!)
Essential Equipment for Your Dutch Oven Bread
Okay, so you don’t need a fancy bakery setup for this, but a few key tools make all the difference. First off, you’ll want a large mixing bowl. We’re talking big enough to hold all that dough without a mess! Then, you need something to cover it with while it rests – plastic wrap works great, or even just a damp kitchen towel if you have one. Parchment paper is a lifesaver for getting the dough into that hot pot without sticking! And the star of the show? A 5-7 quart Dutch oven with a lid. Make sure it’s oven-safe, of course! This is what gives us that amazing crust. Finally, a wire cooling rack is a must so your beautiful bread doesn’t get soggy on the bottom.
Step-by-Step Guide to Making Your Quick And Easy No-Knead Bread
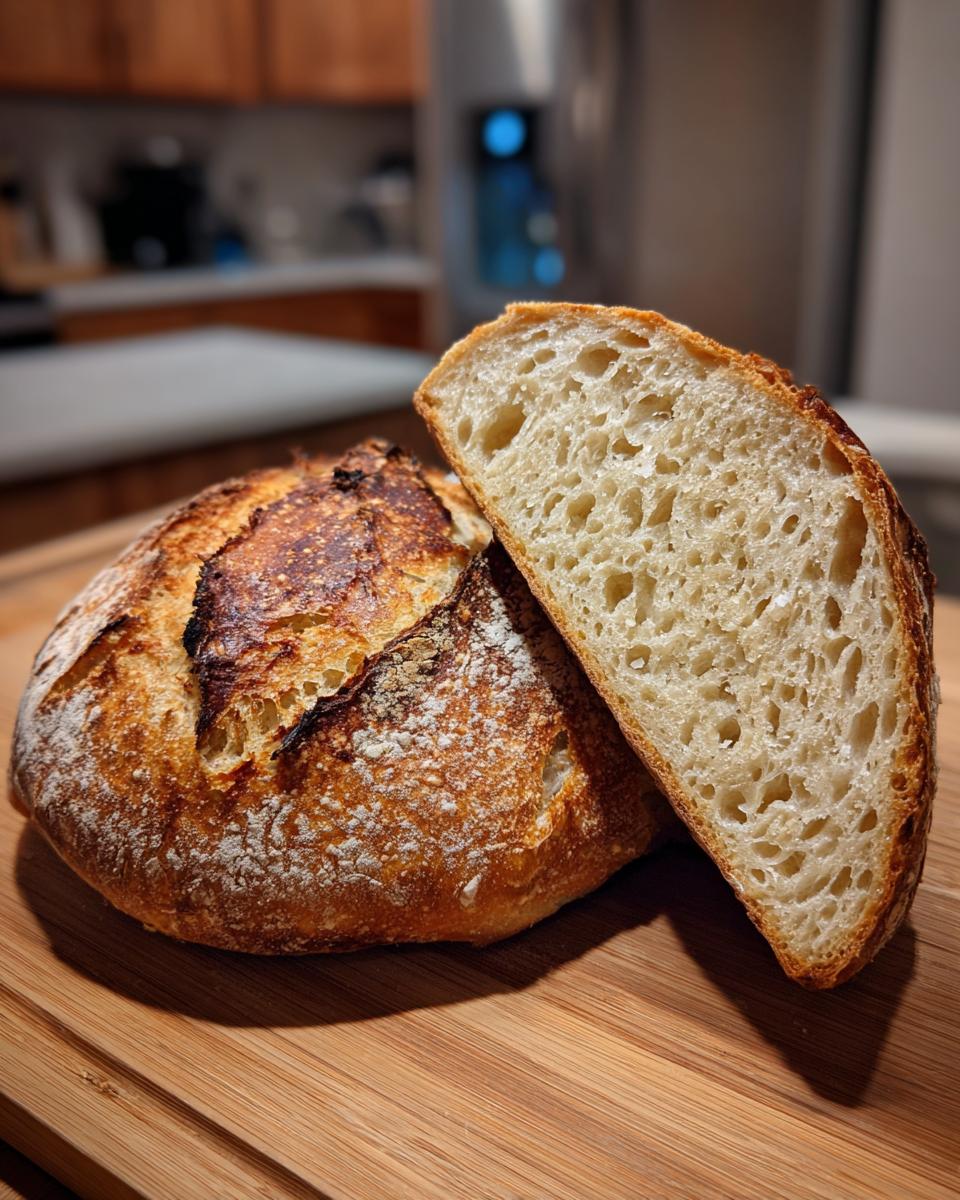
Okay, here we go! This is where the magic really happens. Don’t be intimidated by the long resting time; it’s mostly hands-off. Trust me, the payoff is SO worth it. I like to mix the dough the night before, so it’s ready to go in the morning. It’s like a little surprise waiting for you!
Mixing and Resting the Dough for Your Knead Bread Recipe
First things first, grab that big bowl. Toss in your flour, yeast, and salt. Give it a quick stir with a spoon or your hand just to get everything mixed. Now, pour in that lukewarm water. You’re just going to stir until it all comes together into a messy, shaggy dough. It’s going to look pretty wet and not at all like traditional bread dough, and that’s exactly what we want! Cover the bowl tightly with plastic wrap, or a damp kitchen towel if that’s what you have, and just let it sit on your counter for about 12 to 18 hours. Yep, that long! The yeast is slowly doing its thing, creating all those lovely air bubbles.
Shaping and Second Rise for Your No Knead Bread
After all that resting, your dough should look bubbly and alive. Now, generously flour a clean surface – like your countertop or a big cutting board. Gently turn the dough out onto the floured surface. It’s going to be sticky, so don’t fight it! You’re just going to gently fold it over on itself a couple of times. Think of it like tucking it in. Then, shape it into a rough ball. It doesn’t need to be perfect; rustic is the name of the game here! Place this dough ball onto a piece of parchment paper. Cover it loosely with plastic wrap or a towel again, and let it rest for about 30 minutes. This little rest helps it relax before its hot bath.
Baking Your Artisan Bread Recipes in a Dutch Oven
This is the part that gives you that amazing crust! While your dough is having its second little nap, pop your empty Dutch oven (lid on!) into your oven. Crank the heat up to 450°F (230°C) and let it preheat for a good 30 minutes. You want that pot screaming hot! Once it’s preheated, carefully take the super-hot Dutch oven out of the oven. This takes caution, so use good oven mitts! Now, grab your dough by the parchment paper edges and gently lower it right into the hot Dutch oven. Pop the lid back on, and carefully place it back into the oven. Bake it covered for 30 minutes. This traps all the steam, which is crucial for that crust. After 30 minutes, take the lid off. You’ll see it’s already looking good! Bake it for another 15 to 20 minutes, uncovered, until it’s a gorgeous golden brown. Let it cool completely on a wire rack before you even THINK about slicing it – I know, it’s torture, but it’s important!
Tips for Achieving the Best Homemade Bread Recipes Easy
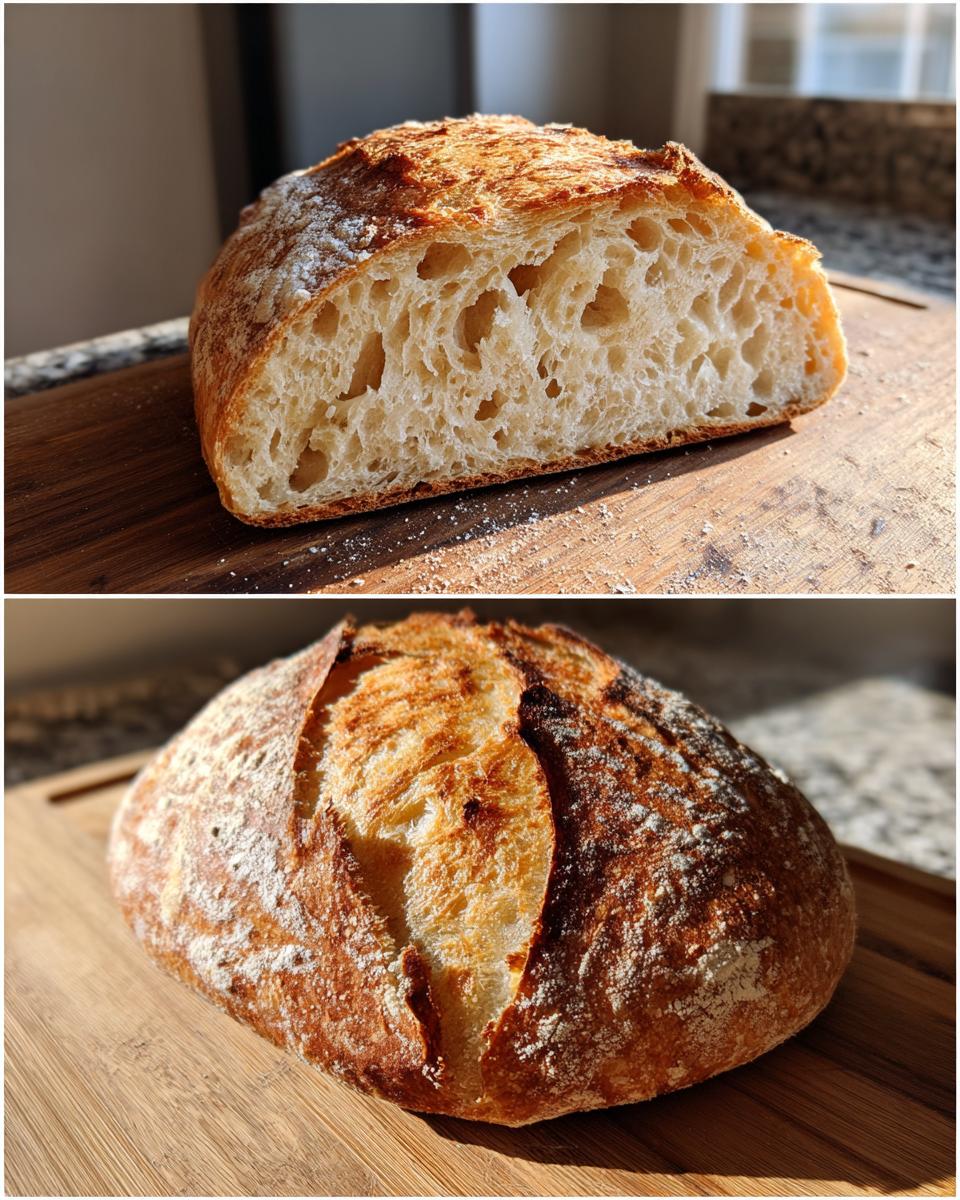
Okay, so you’ve mixed your dough and you’re waiting patiently – that’s already a huge win! To make sure this homemade bread is absolutely perfect every single time, here are a few little secrets I’ve picked up over the years. First off, that dough consistency? It’s supposed to be sticky, almost like a thick batter. If it feels way too wet, don’t freak out! Just add a tiny bit more flour, like a tablespoon at a time, until it’s manageable. And that long rest? Seriously, don’t rush it. That’s where all the flavor and those amazing air pockets develop! Preheating that Dutch oven is non-negotiable; it’s the secret to that incredible, crackly crust. Finally, and this is hard, let the bread cool completely on a wire rack. It finishes cooking inside as it cools, and slicing too early means a gummy texture. If you’re feeling adventurous, try swapping out some of the flour for whole wheat or even adding some seeds!
Ingredient Notes and Substitutions for Your Easy Bread Recipes
So, about those ingredients we talked about. For the flour, all-purpose is what this recipe is designed for, and it works like a charm for that classic bread texture. But if you’re feeling a little adventurous, you can totally swap out about a cup of the all-purpose for bread flour. It’ll give you a slightly chewier crumb, which is pretty awesome too! When it comes to the yeast, just double-check that it’s active. If it’s old, it might not do its job, and then your bread won’t get nice and bubbly. And that water temperature? It’s more important than you think! Too hot and you’ll kill the yeast; too cold and it won’t wake up. Lukewarm is just right, like a cozy bath for your yeast buddies!
Frequently Asked Questions About Quick And Easy No-Knead Bread
Got questions about this amazing bread? I totally get it! It’s so simple, but sometimes little things pop up. Let’s tackle them!
Can I make this no-knead bread without a Dutch oven? Oh, you can try! But honestly, the Dutch oven is what gives you that incredible, thick, crispy crust because it traps all the steam. If you don’t have one, you can bake it on a pizza stone or baking sheet, but you might want to try creating steam by placing a pan of water in the oven. The crust just won’t be quite the same, though!
What if my dough doesn’t rise much after 12 hours? Don’t panic! A few things could be happening. Your kitchen might be a bit chilly, which slows down the yeast. Try moving it to a warmer spot. Or, your yeast might be a little old and less active. If it still looks pretty much like when you mixed it, you can always let it rest for a few more hours, or even overnight again. Sometimes it just needs a little extra time!
How do I store leftover no-knead bread? This is important for keeping it yummy! Once it’s completely cool, store it at room temperature in a paper bag or a bread box. Avoid plastic wrap, as it can make the crust soft and soggy. It’s best eaten within a day or two, but it’s still great toasted after that!
Can I add seeds or herbs to this recipe? Absolutely! This recipe is super forgiving and a great base for creativity. Feel free to mix in about 1/4 to 1/2 cup of your favorite seeds (like sunflower, poppy, or flax) or some dried herbs (rosemary and thyme are fantastic!) right when you add the water. Just give it a good stir to distribute them!
Storing and Reheating Your Delicious Baked Bread
Okay, so you’ve baked this amazing loaf of bread, and maybe, just maybe, there are a few slices left. Lucky you! The best way to keep this bread tasting fantastic is to store it properly. Once it’s completely cooled – and I know, this is the hardest part! – pop it into a paper bag or a bread box. This lets the crust stay nice and crisp, unlike plastic wrap which can make it a bit sad and soggy. If you’re lucky enough to have slices remaining the next day, don’t just eat them cold! Pop them in the toaster or give them a quick warm-up in the oven for a few minutes. It brings back that lovely crispness and makes them taste almost as good as when they were fresh out of the oven!
Understanding the Nutrition of Your Quick And Easy No-Knead Bread
Just a little heads-up on the nutritional info for this amazing bread! Keep in mind that these are approximate values per slice, and they can vary a bit depending on exactly how you make it. It’s pretty low in fat and sugar, which is great, but it’s also a good source of carbs and protein to keep you going!
- Serving Size: 1 slice
- Calories: ~200
- Fat: ~1g
- Saturated Fat: 0g
- Unsaturated Fat: 1g
- Trans Fat: 0g
- Carbohydrates: ~40g
- Fiber: 2g
- Protein: 7g
- Cholesterol: 0mg
- Sodium: ~300mg
- Sugar: 1g
So, did you give this Quick And Easy No-Knead Bread a whirl? I’m just dying to know how it turned out! Seriously, seeing your baking triumphs makes my day. Please, please leave a comment below and tell me all about it – any variations you tried, how it tasted, or just your general thoughts! I can’t wait to see your amazing creations!
And if you snap a picture of your gorgeous loaf, I’d be over the moon if you shared it on social media and tagged me. I can’t wait to see your amazing creations!
Print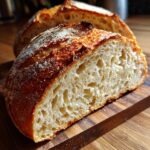
Amazing Quick No-Knead Bread In 1 Hour
- Total Time: 13-19 hours (including resting time)
- Yield: 1 loaf
- Diet: Vegetarian
Description
A simple and quick no-knead bread recipe perfect for beginners. This recipe uses a Dutch oven for a crispy crust and soft interior.
Ingredients
- 3 cups all-purpose flour
- 1/4 teaspoon active dry yeast
- 1 1/2 teaspoons salt
- 1 1/2 cups lukewarm water
Instructions
- In a large bowl, mix flour, yeast, and salt.
- Add water and stir until just combined, forming a shaggy dough.
- Cover the bowl with plastic wrap and let it rest at room temperature for 12-18 hours.
- After resting, the dough will be bubbly.
- Generously flour a clean surface and turn the dough out onto it.
- Gently fold the dough over on itself a few times.
- Shape into a rough ball.
- Place the dough on a piece of parchment paper and let it rest, covered, for 30 minutes.
- Preheat your oven to 450°F (230°C) with the Dutch oven inside for 30 minutes.
- Carefully remove the hot Dutch oven.
- Transfer the dough into the Dutch oven using the parchment paper.
- Cover and bake for 30 minutes.
- Remove the lid and bake for another 15-20 minutes, until golden brown.
- Let cool completely on a wire rack before slicing.
Notes
- Ensure your Dutch oven is oven-safe.
- Adjust baking time for desired crispiness.
- For a different flavor, add herbs or seeds to the dough.
- Prep Time: 10 minutes
- Cook Time: 45-50 minutes
- Category: Bread
- Method: Baking
- Cuisine: American