
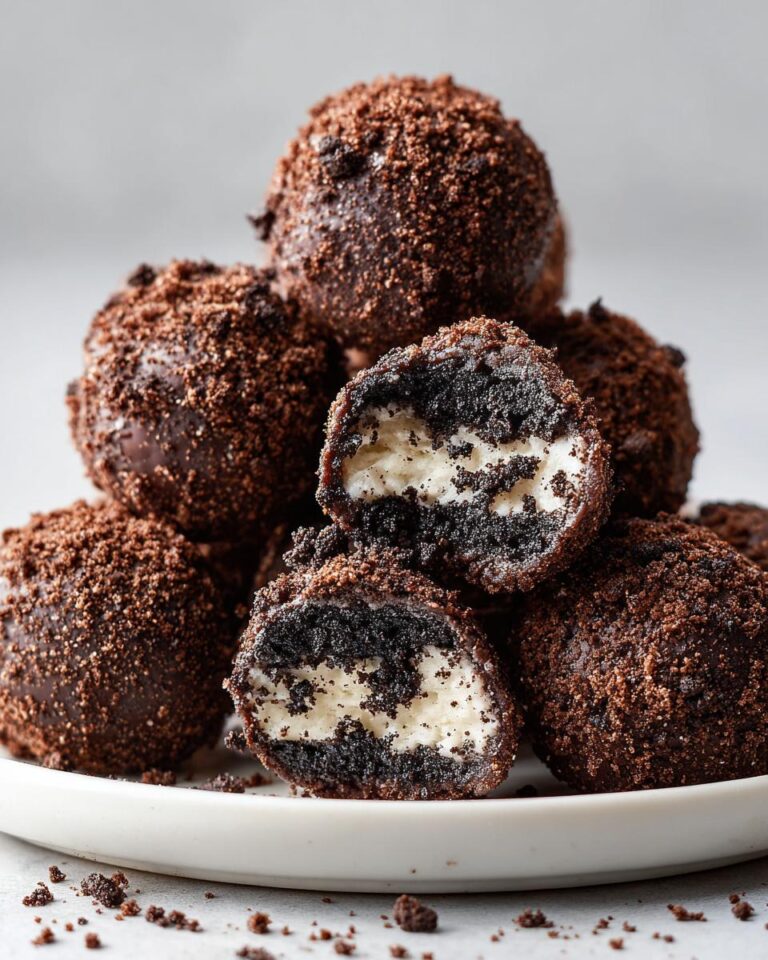
Okay, let’s talk about my absolute go-to treat when I need something sweet, fast, and ridiculously easy: Oreo balls! Seriously, these little bites of heaven are pure magic. They’re the ultimate no-bake dessert that always disappears the fastest at any gathering, and I’m pretty sure I invented the “make a batch just for yourself” rule. I remember the first time I made them for a potluck – I was so stressed about bringing something impressive, and these took me maybe 20 minutes, tops! People were raving, and I was just grinning, knowing how simple they were. If you’re looking for a crowd-pleasing, melt-in-your-mouth kind of treat, you’ve found it!
Why You’ll Love These Oreo Balls
Honestly, these Oreo balls are a total lifesaver! They’re ridiculously easy, which means even if you’re new to baking (or just short on time!), you can whip these up. Plus, the “no-bake” part? Genius! You get that irresistible chocolatey, creamy flavor without even turning on the oven. They’re seriously perfect for parties, holidays, or just when you need a quick, sweet fix. Everyone loves them!
- Super quick and easy to make
- No oven needed – woohoo!
- That amazing chocolate and cream cheese combo
- Always a hit for parties and get-togethers
Gathering Your Oreo Balls Ingredients
Alright, let’s get down to business and talk about what you’ll need to make these amazing Oreo balls! Don’t worry, it’s super simple. You probably have most of this stuff already. The key is to have everything ready to go so you can just dive in and make these tasty treats. I always like to have my cream cheese softened and my Oreos ready to go before I even start mixing.
Essential Ingredients for Perfect Oreo Balls
For the base of our delicious Oreo balls, you’ll need 28 regular Oreo cookies – that’s usually about two standard sleeves you get from the grocery store. Make sure they’re the classic ones! And for the cream cheese part, grab one regular 8-ounce package. The most important thing here is to make sure it’s totally softened. I usually leave mine on the counter for at least an hour, maybe two, so it’s nice and pliable. This makes mixing so much easier and prevents lumps!
Chocolate Coating Essentials
Now for the best part – the chocolate coating! You’ll want about 2 cups of semi-sweet chocolate chips. They melt beautifully and give you that classic chocolatey flavor. A little secret weapon I sometimes use is a tablespoon of shortening. It’s totally optional, but it helps the chocolate melt super smooth and gives it a nice, glossy finish once it sets. Trust me, it makes a difference!
Step-by-Step Guide to Making Oreo Balls
Alright, let’s get these delicious little Oreo balls made! It’s seriously so simple, you’ll wonder why you haven’t made them a million times already. Just follow these easy steps and you’ll have a batch of pure happiness in no time at all.
Preparing the Oreo Ball Mixture
First things first, we need to get our Oreos all crumbly. You can totally use a food processor for this, just pulse them until they’re fine crumbs – no big chunks allowed! Or, if you’re feeling a bit more hands-on (or don’t have a food processor), pop them into a sturdy zip-top bag and go to town with a rolling pin. Once they’re nice and fine, dump those crumbs into a medium bowl. Then, add your softened cream cheese. Mix it all up until it’s super well combined and there aren’t any streaks of cream cheese left. It should look like a thick, dark dough. It’s important that the cream cheese is soft so it mixes in smoothly with the crumbs!
Shaping and Chilling Your Oreo Balls
Now for the fun part – rolling! Take about a tablespoon of the mixture at a time and roll it between your palms to form little balls. I aim for about 1 inch in diameter, like a decent-sized truffle. Try to make them all about the same size so they bake (well, chill!) evenly. As you roll them, place them on a baking sheet that you’ve lined with parchment paper. This stops them from sticking. Once they’re all rolled and ready, pop that baking sheet into the freezer for about 10-15 minutes. You want them to get nice and firm so they hold their shape when you dip them in chocolate.
Melting and Coating the Oreo Balls
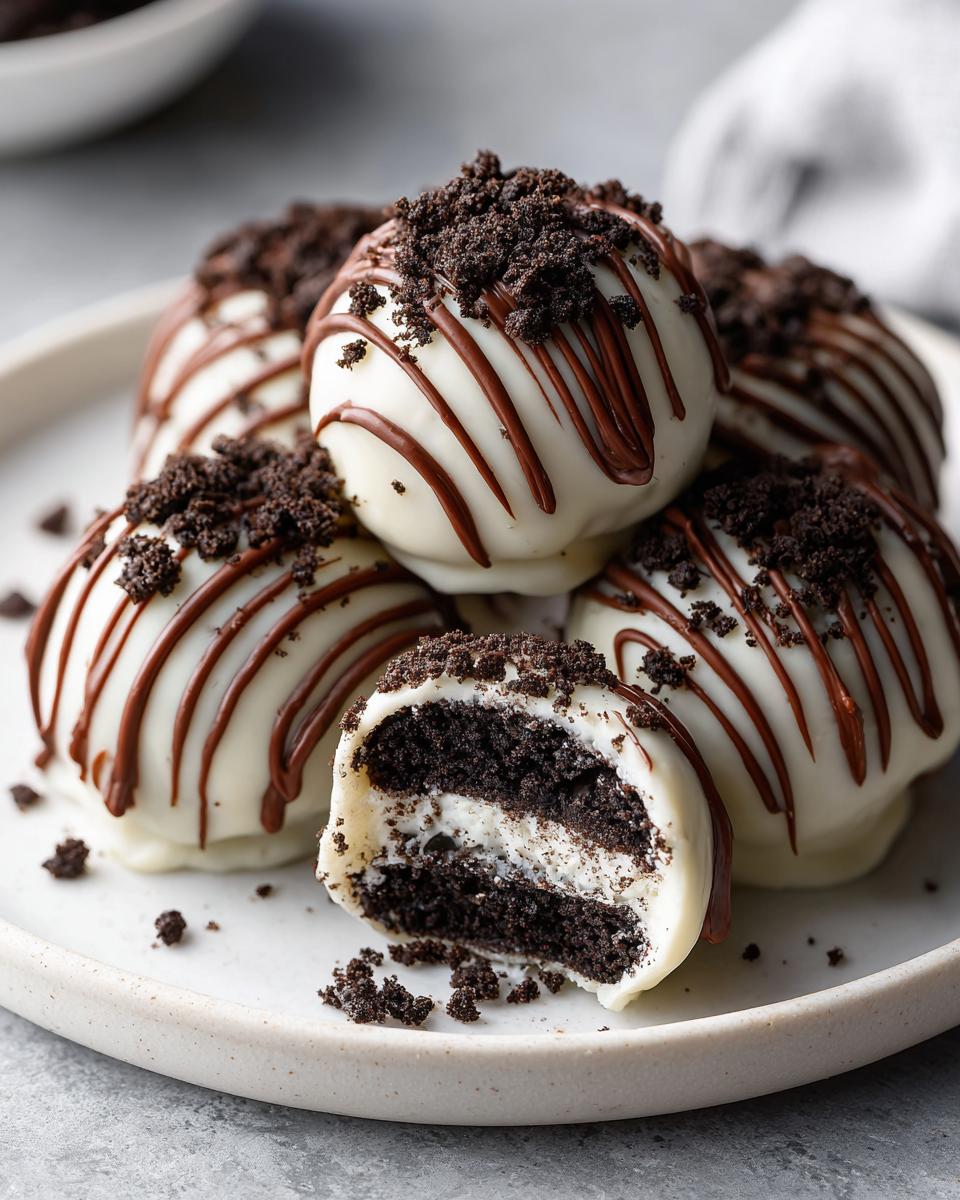
While those little guys are chilling, let’s melt our chocolate. Grab a microwave-safe bowl and toss in your semi-sweet chocolate chips and that optional tablespoon of shortening. Microwave it in 30-second bursts, stirring really well in between each burst. Keep going until it’s all smooth and melty. If you prefer, you can use a double boiler on the stovetop – just be sure not to get any water in the chocolate! Once the chocolate is perfectly smooth, take your chilled Oreo balls out of the freezer. Carefully dip each one into the melted chocolate using a fork or a toothpick. Make sure to coat them all the way around. Let any excess chocolate drip off before placing them back onto your parchment-lined baking sheet.
Setting and Finishing Your Oreo Balls
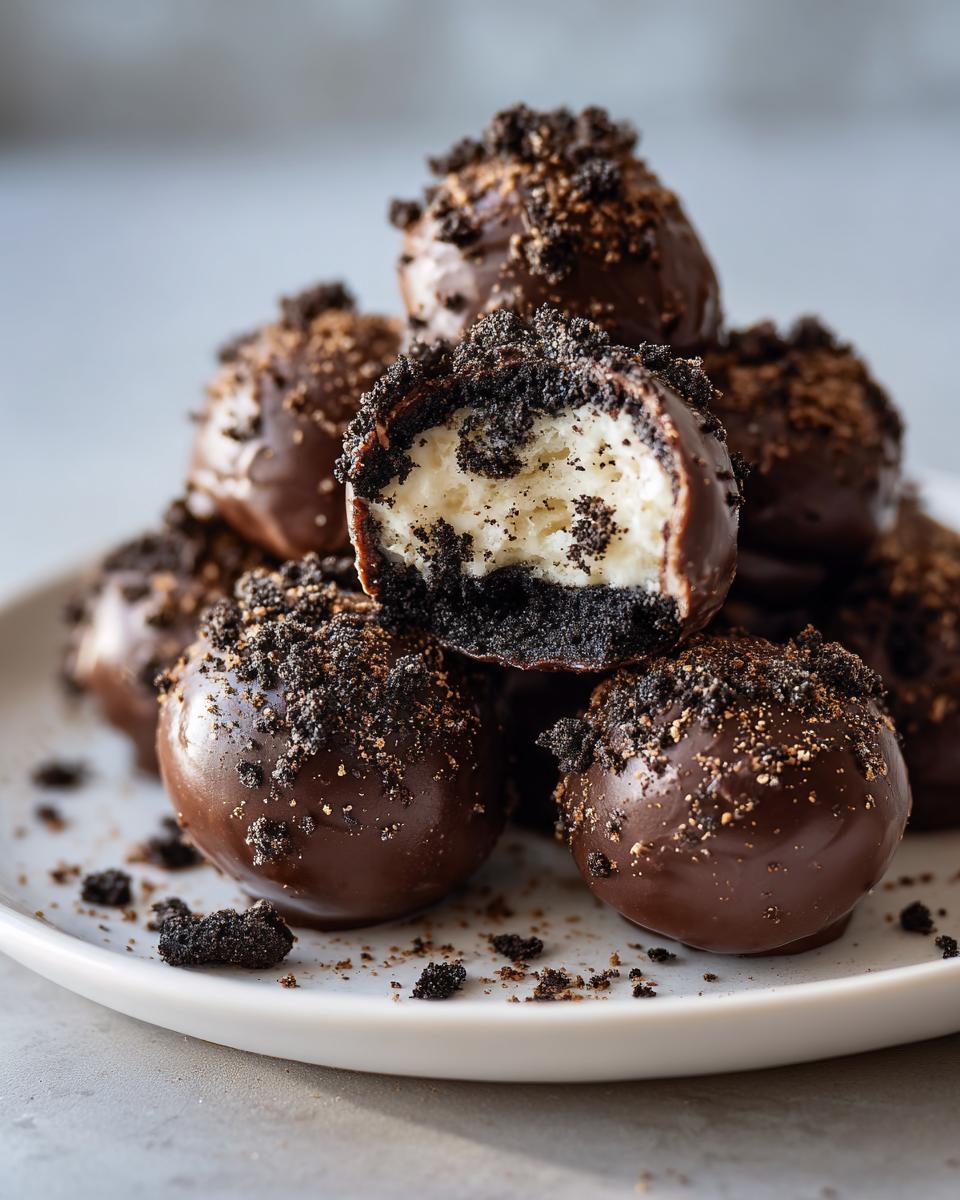
Now that they’re all coated and look gorgeous, pop that baking sheet back into the refrigerator. You’ll want to let them chill for about 30 minutes, or until the chocolate coating is completely set. This is when they really transform into those perfect little treats! If you want to get fancy, you can totally drizzle them with some white chocolate or add some sprinkles right after you coat them, while the chocolate is still wet. But honestly, they’re amazing just as they are!
Tips for the Best Oreo Balls
Making these Oreo balls is pretty foolproof, but a few little tricks can make them absolutely perfect every single time. You want that smooth texture and a flawless chocolate coating, right? Don’t worry, I’ve got you covered!
Achieving the Perfect Texture
Seriously, the cream cheese HAS to be soft! If it’s too cold, you’ll end up with lumps, and nobody wants lumpy Oreo balls. Also, make sure those Oreo crumbs are super fine. The finer they are, the smoother your mixture will be, leading to a better texture overall. It’s these little things that make all the difference!
Smooth Chocolate Coating Techniques
When you’re melting your chocolate, go slow and stir often. Microwaving in short bursts is key to avoid burning it. And remember that optional shortening? It really helps get that super smooth, glossy finish that looks so professional. When you dip your chilled balls, make sure to let the excess chocolate drip off before placing them on the parchment paper. It prevents those messy drips and gives you a cleaner look.
Creative Variations for Your Oreo Balls
Okay, so the classic Oreo balls are amazing, but you know me, I love to play around! These are already such a fantastic base for so many other delicious ideas. You can totally jazz them up to make them even more special. Think of them as your blank canvas for some really tasty baking!
Flavor Additions and Mix-ins
Want to add a little something extra? Try mixing in a tiny splash of peppermint extract into the Oreo and cream cheese mixture for a minty twist, or even a little almond extract. It really elevates these sweet dishes recipes!
Decorative Touches for Your Oreo Balls
Get creative with the coating! Drizzle them with white chocolate for a pretty contrast, or sprinkle on some colorful nonpareils or even some crushed nuts right after dipping. It makes them look super fancy with hardly any extra effort!
Serving and Storing Your Delicious Oreo Balls
These Oreo balls are best served chilled, so make sure they have enough time in the fridge to let that chocolate coating set up perfectly. They’re just so satisfying when they’re cold and firm!
How to Serve Oreo Balls
Just pop them out of the fridge and onto a nice plate. They look so pretty and are ready to go!
Storing Leftover Oreo Balls
If, by some miracle, you have any leftovers (ha!), store them in an airtight container in the refrigerator. They’ll stay good for about a week, though honestly, they usually disappear way before then!
Frequently Asked Questions About Oreo Balls
Got questions about whipping up these amazing Oreo balls? I totally get it! Sometimes you just need a little extra info. These are super easy, but here are some common things people ask about making them perfect, or turning them into even more awesome easy snack recipes.
Can I use different types of Oreos?
Oh, absolutely! While the classic chocolate Oreos are my fave, you can totally use Golden Oreos for a lighter flavor, or even Double Stuf if you want extra creaminess. Just make sure to crush them up well!
How long do Oreo balls last?
If you manage to have any leftovers (good luck with that!), they’ll keep nicely in an airtight container in the fridge for about a week. They stay nice and firm that way!
Can I freeze Oreo balls?
Yes, you can! It’s a great way to make them ahead of time. Just place them in a single layer on a baking sheet and freeze until solid, then transfer them to an airtight container. Thaw them in the fridge before serving.
Why did my chocolate coating crack?
Cracking usually happens from temperature shock! Make sure your Oreo balls are nice and cold when you dip them, and that your melted chocolate isn’t too hot. Letting them set slowly in the fridge helps prevent this. It’s a common thing with chocolate, but easy to fix!
Estimated Nutritional Information
Just a heads-up, these are just estimated numbers for our yummy Oreo balls, okay? The exact amounts can change a bit depending on the brands you use and how big you roll your balls. But this gives you a good idea!
- Serving Size: 1 ball
- Calories: Approximately 100-120
- Fat: Approximately 6-8g
- Carbohydrates: Approximately 10-12g
- Protein: Approximately 1-2g

Amazing Oreo Balls: 1 Divine Bite
- Total Time: 35 minutes (plus chilling time)
- Yield: Approximately 30-35 balls
- Diet: Vegetarian
Description
Oreo balls are a simple no-bake dessert made with crushed Oreos, cream cheese, and chocolate coating. They are perfect for parties or as a sweet treat.
Ingredients
- 28 Oreo cookies
- 1 package (8 ounces) cream cheese, softened
- 2 cups semi-sweet chocolate chips
- 1 tablespoon shortening (optional, for smoother melting)
Instructions
- Crush the Oreo cookies into fine crumbs. You can use a food processor or place them in a zip-top bag and crush them with a rolling pin.
- In a medium bowl, mix the Oreo crumbs and softened cream cheese until well combined.
- Roll the mixture into small balls, about 1 inch in diameter. Place them on a baking sheet lined with parchment paper.
- Freeze the Oreo balls for about 10-15 minutes until firm.
- Melt the chocolate chips with shortening (if using) in a microwave-safe bowl in 30-second intervals, stirring in between, until smooth. Alternatively, use a double boiler.
- Dip each frozen Oreo ball into the melted chocolate, coating completely.
- Place the coated Oreo balls back on the parchment-lined baking sheet.
- Refrigerate until the chocolate is set, about 30 minutes.
Notes
- For a varied look, drizzle with white chocolate or sprinkles after coating with dark chocolate.
- Store leftover Oreo balls in an airtight container in the refrigerator.
- Prep Time: 20 minutes
- Cook Time: 5 minutes (for melting chocolate)
- Category: Dessert
- Method: No-Bake
- Cuisine: American