You know those nights when you just crave something super satisfying, something that feels like a warm hug in a bowl? That’s exactly what this Japanese Katsu Bowl is for me. Seriously, it’s become my absolute go-to for whipping up a fantastic weeknight meal that tastes like it took hours, but really, it’s surprisingly quick.
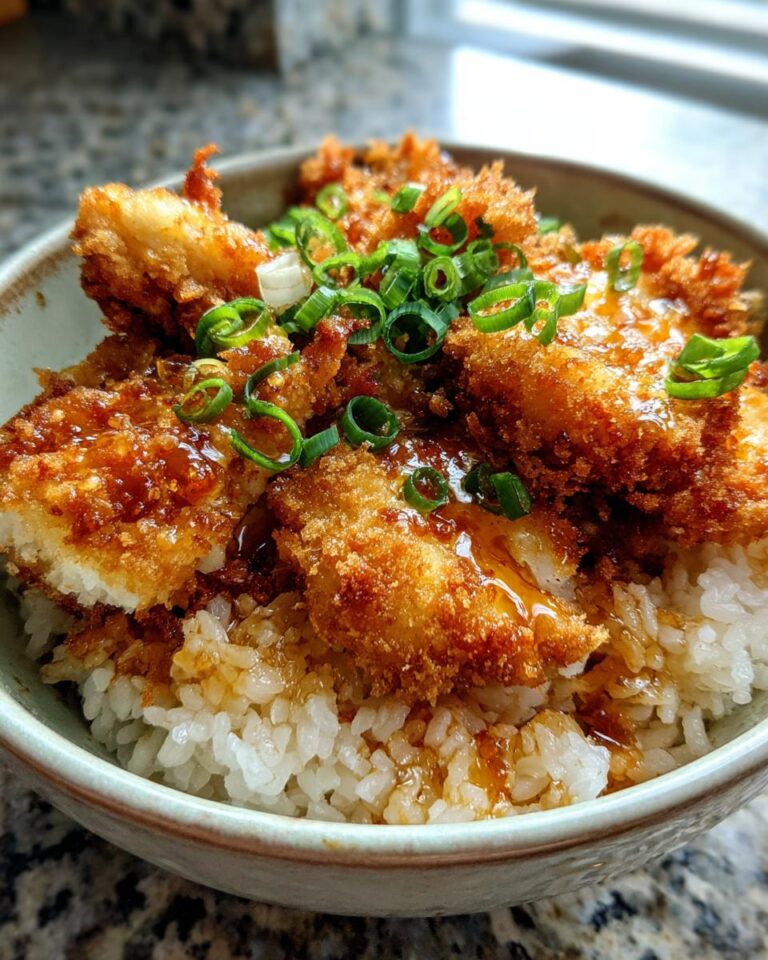
What makes it so special? It’s all about that perfect combo: super crispy, oven-baked chicken (no messy frying here, thank goodness!) piled high on fluffy rice that’s been kissed with just the right amount of savory-sweet seasoning. I’ve made this dish more times than I can count, and every single time, it hits the spot. It’s a comforting dish that’s reliable, delicious, and always leaves everyone happy. Trust me, this is one recipe you’ll want in your regular rotation!
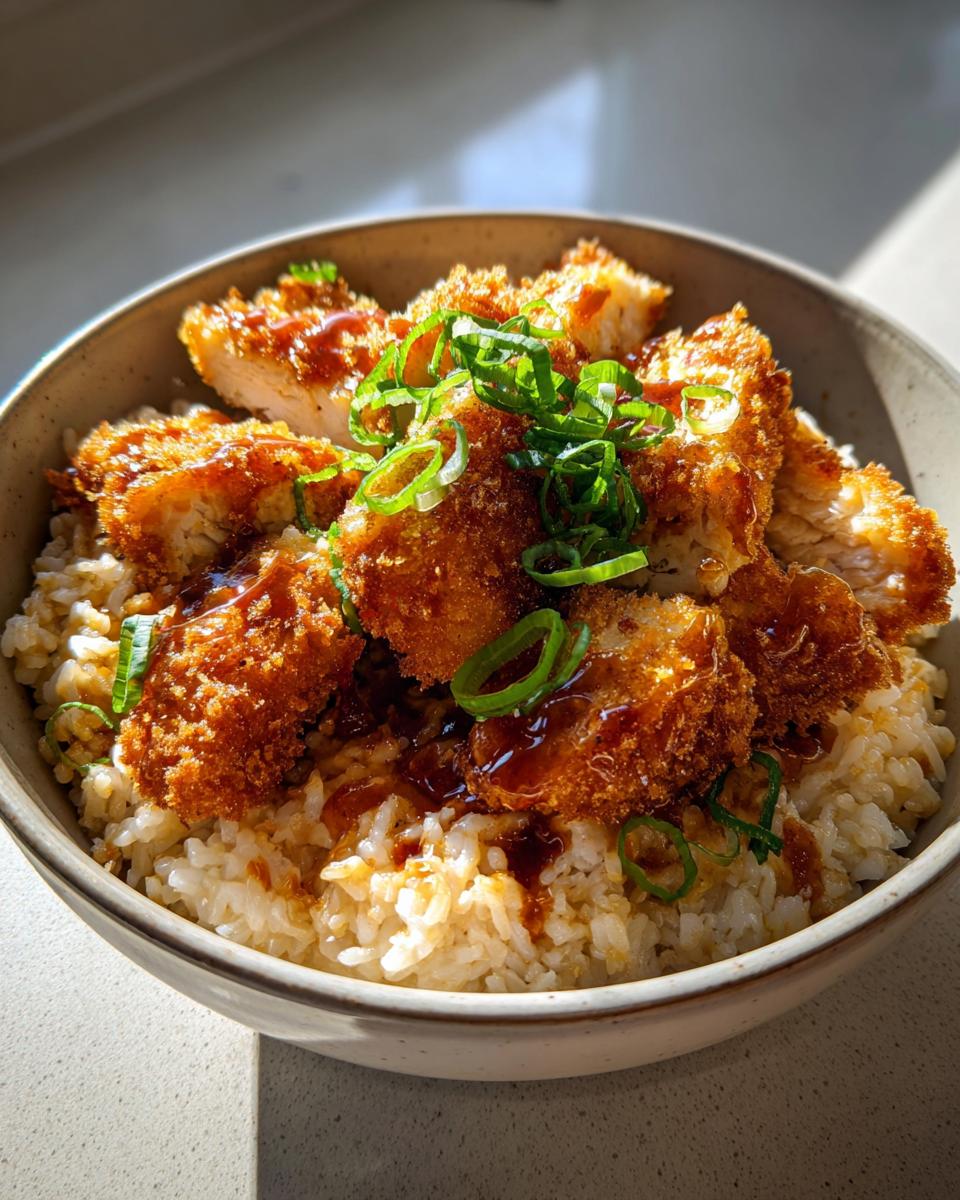
Why You’ll Love This Japanese Katsu Bowl
Okay, so why is this Katsu Bowl a total winner? Let me break it down for you. It’s honestly one of those meals that makes busy evenings so much better. You get this incredible comfort food vibe without all the fuss. Here’s what makes it shine:
- It’s quick and easy! Seriously, we’re talking less than an hour from start to finish. Perfect for when you’re tired but still want something amazing.
- Crispy oven-baked chicken perfection. No deep-frying needed, but you still get that amazing crunch. It’s genius!
- Flavorful seasoned rice. This isn’t just plain rice; it’s got a little something extra that ties the whole bowl together.
- That sweet and salty magic. It’s the perfect balance that just makes your taste buds sing.
- Your new favorite weeknight meal. It’s satisfying, delicious, and totally doable even on a Tuesday night.
Gather Your Japanese Katsu Bowl Ingredients
Alright, let’s get down to business! To make this amazing Japanese Katsu Bowl, you’ll need a few key players. Don’t worry, it’s all pretty straightforward stuff that you can usually find at any grocery store. Having everything prepped and ready to go makes the cooking process super smooth, so I always like to get all my ingredients out and measured before I even turn on the stove. It’s like setting up your own little kitchen command center!
Chicken and Breading Essentials
First up, the star of the show: the chicken! I’m a big fan of using boneless, skinless chicken thighs because they stay so wonderfully juicy and tender, even after baking. Just cut them into bite-sized pieces so they cook evenly and are easy to eat. Then, we’ve got our crispy coating crew: a good cup of panko breadcrumbs for that authentic crunch, about half a cup of all-purpose flour to help everything stick, and two large eggs, beaten up nice and ready for dipping.
Rice and Seasoning Components
Now for the fluffy cloud that holds it all together – the rice! Two cups of uncooked short-grain rice is perfect for this. You know, the kind that gets nice and sticky? We’ll cook that with about two and a half cups of water. While the rice is doing its thing, we’ll whip up a super simple seasoning mix that gives it that signature Japanese flavor. Just grab some soy sauce, a splash of mirin (that’s sweet rice wine, it’s magic!), a little sake (if you have it, it adds depth!), a teaspoon of sugar for that hint of sweetness, and a tiny pinch of salt.
Finishing Touches and Optional Toppings
To get that beautiful golden-brown crisp on our chicken, we’ll need a little drizzle of vegetable oil before it hits the oven. And for serving? Oh, the possibilities! Shredded cabbage adds a lovely freshness and crunch. Sliced green onions bring a pop of color and mild oniony flavor. And if you’re feeling extra, a drizzle of tonkatsu sauce is absolutely divine – it’s that classic sweet and tangy sauce that just screams katsu!
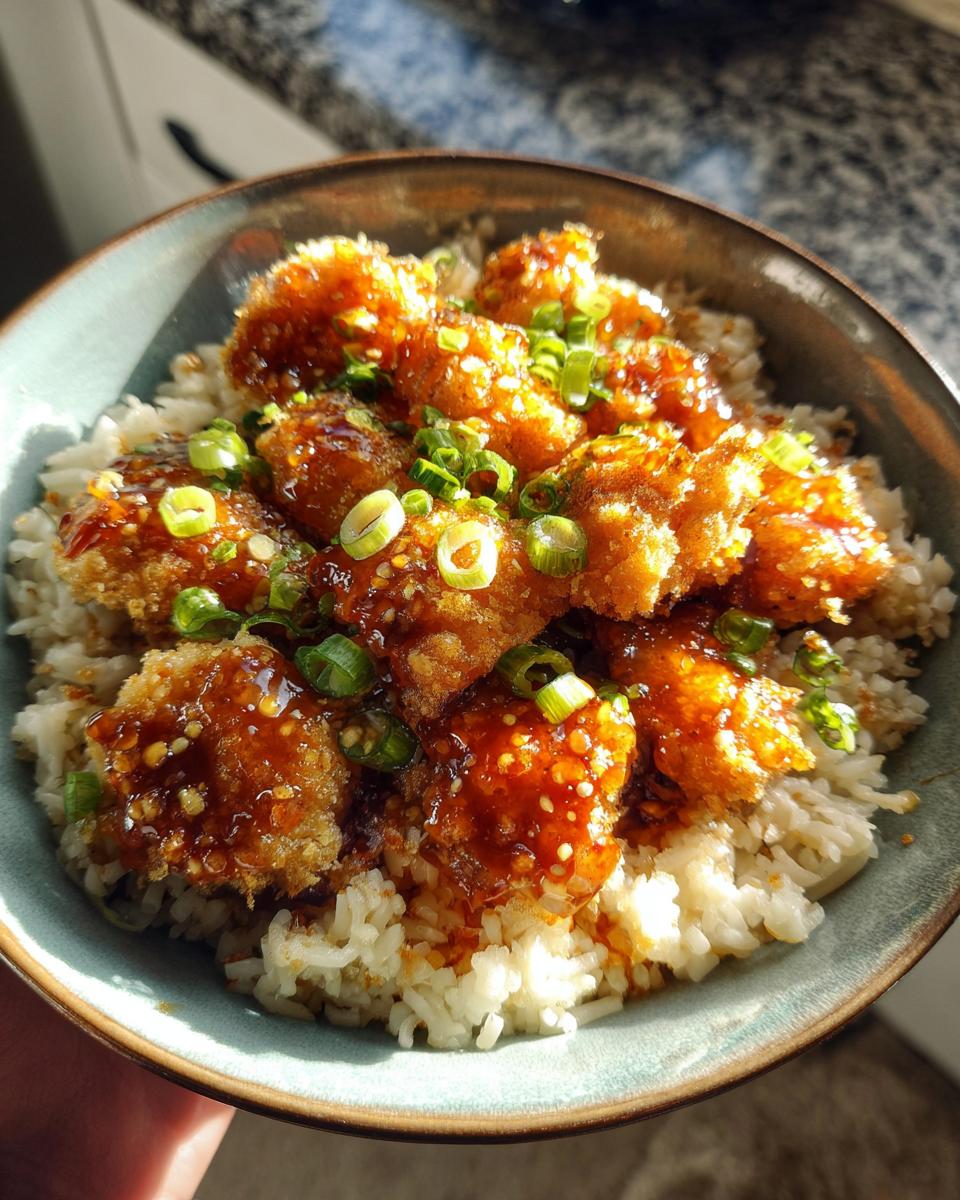
Step-by-Step Guide to Your Japanese Katsu Bowl
Alright, let’s get this deliciousness made! I love breaking down recipes into easy steps, especially when you’re juggling a few things at once, like cooking rice and prepping chicken. Don’t worry, it all comes together beautifully, and the oven does most of the hard work for the chicken. It’s seriously a weeknight miracle!
Cooking the Rice
First things first, let’s get that fluffy rice going. Just follow the instructions on your package for the short-grain rice. Usually, it’s just a matter of rinsing it really well, then popping it in a pot with the water and letting it simmer away until it’s tender and all the water is absorbed. Easy peasy!
Preparing the Crispy Chicken
While your rice is happily cooking, we’ll tackle the chicken. Take those bite-sized chicken thigh pieces and set up your breading station. You’ll want three shallow dishes: one with the flour, one with your beaten eggs, and one with the panko breadcrumbs. Now, grab a piece of chicken, give it a little roll in the flour (shake off any excess!), then dip it into the egg, letting any extra drip off, and finally, press it firmly into the panko. Make sure it’s coated all over – that’s where the real crunch comes from!
Baking the Chicken
Okay, time for the oven! Get it preheated to 400°F (200°C). Line a baking sheet with parchment paper – this makes cleanup a breeze, trust me! Lay your perfectly breaded chicken pieces on the sheet, giving them a little breathing room so they get nice and crispy. Then, just give them a light drizzle of vegetable oil. Pop them in the oven and let them bake for about 20 to 25 minutes. You’re looking for that gorgeous golden-brown color and for the chicken to be cooked all the way through.
Seasoning the Rice
While the chicken is doing its thing in the oven, let’s jazz up that rice. Grab a small bowl and whisk together the soy sauce, mirin, sake (if you’re using it!), sugar, and that little bit of salt. Once your rice is cooked and ready, gently fold this flavorful mixture into it. You want to mix it in without smashing the rice, just enough to get that lovely sweet and savory flavor distributed.
Assembling Your Japanese Katsu Bowl
The moment of truth! Grab your bowls. Spoon a generous amount of that seasoned, fluffy rice into the bottom. Then, pile on those beautiful, crispy chicken pieces right on top. Now for the fun part – add your optional toppings! A little mound of shredded cabbage adds a nice freshness, some sliced green onions give it a pop of color, and if you have tonkatsu sauce, a drizzle over everything is just *chef’s kiss*! Dinner is served!
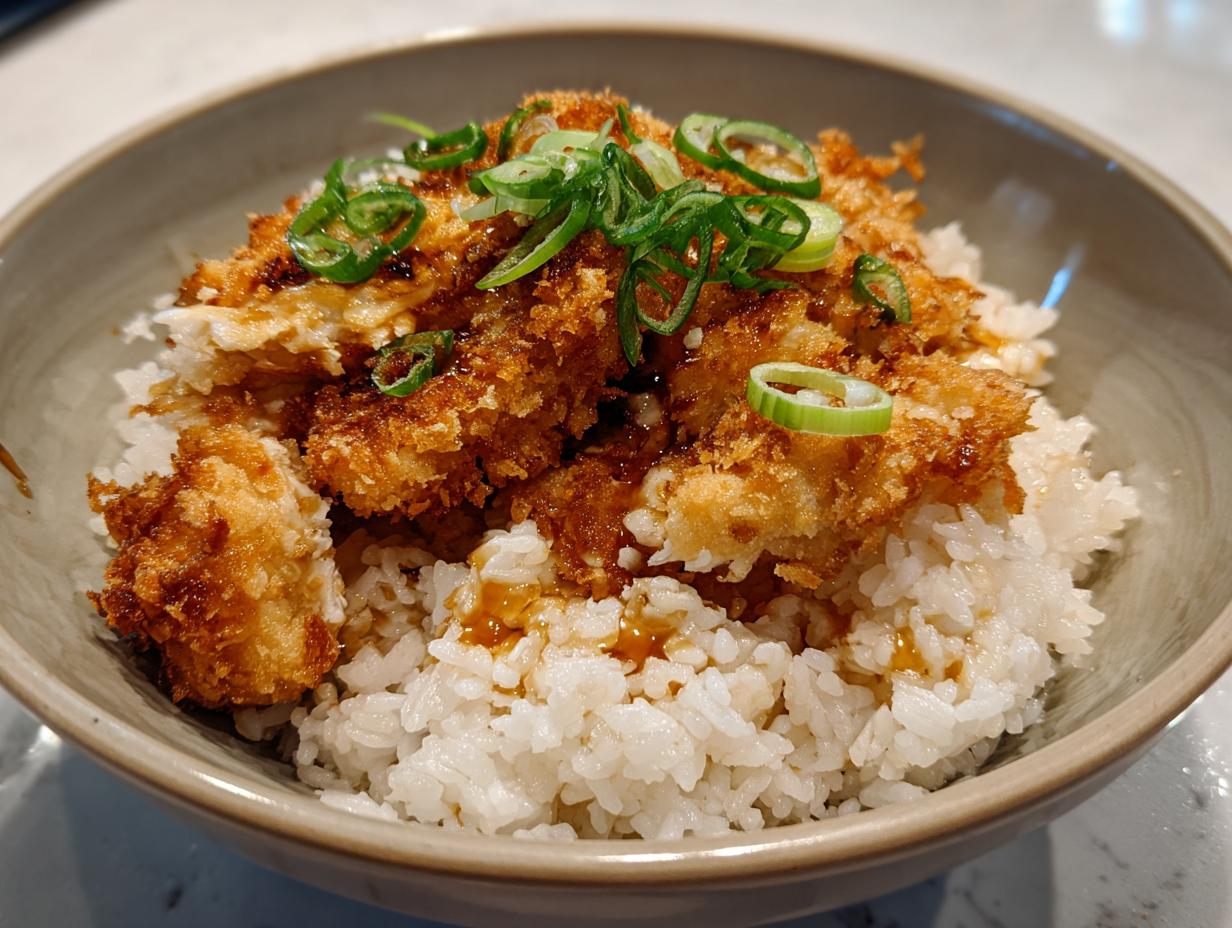
Tips for Perfect Japanese Katsu Bowl Success
Want your Katsu Bowl to be absolutely perfect every single time? I’ve got a few little tricks up my sleeve that make all the difference. First off, for that super-duper crispy chicken, make sure your panko coating is really even. Don’t be afraid to gently press the panko onto the chicken pieces after you dip them – it helps it stick and get extra crunchy. Also, a little tip that’s a game-changer: don’t overcrowd your baking sheet! Give those chicken pieces some space. This allows the hot air to circulate all around them, so they bake up golden and crispy instead of steaming. And finally, the best advice I can give you? Serve it up right away! This dish is truly at its peak when everything is fresh and the chicken is still wonderfully crisp. Enjoy!
Ingredient Notes and Substitutions for Your Japanese Katsu Bowl
Okay, let’s talk ingredients! Sometimes you might not have *exactly* what’s listed, and that’s totally fine! For the chicken, I really love using boneless, skinless thighs because they’re just so forgiving and stay super moist. But hey, if chicken breasts are what you’ve got, go for it! Just keep an eye on them in the oven, as they might cook a little faster and can dry out quicker. And for that amazing crunch? You *really* want panko breadcrumbs. They’re lighter and crispier than regular breadcrumbs, making a huge difference. If you absolutely can’t find them, regular ones will work in a pinch, but it won’t be quite the same. Lastly, for the rice, short-grain is key for that perfect sticky texture that holds everything together. If you can’t find it, sushi rice is usually a pretty close second!
Serving Suggestions for Your Japanese Katsu Bowl
To round out your amazing Japanese Katsu Bowl, there are a few things that just pair perfectly. I often like to add a simple side of steamed or blanched broccoli; it adds a nice green element and a little extra veggie power. A really refreshing cucumber salad is also fantastic – the cool crunch is a lovely contrast to the crispy chicken. And of course, you can’t go wrong with a warm bowl of miso soup. It just feels right, doesn’t it?
Storing and Reheating Your Japanese Katsu Bowl
Got leftovers? Lucky you! Store any cooled Katsu Bowl components in an airtight container in the fridge for up to two days. When you’re ready for round two, I find the best way to reheat is to pop the chicken and rice back into a preheated oven at around 350°F (175°C). Just give it enough time to warm through really well. Alternatively, you can gently reheat everything in a skillet over medium-low heat. This helps keep the chicken from getting soggy!
Frequently Asked Questions about Japanese Katsu Bowl
Got some burning questions about making this awesome Japanese Katsu Bowl? I’ve got you covered! It’s a pretty straightforward dish, but sometimes a little extra info helps. Here are a few things folks often ask:
Can I make the chicken in an air fryer? Oh, absolutely! If you’ve got an air fryer, it’s a fantastic way to get that chicken super crispy. Just pop your breaded chicken pieces in and air fry them at about 380°F (190°C) for 12-15 minutes. Don’t forget to flip them halfway through so they get golden and crunchy on all sides!
Is this dish spicy? Nope, the base recipe itself isn’t spicy at all. It’s got that wonderful sweet and salty vibe. But if you like a little kick, you can totally add some chili flakes right into the panko breadcrumbs before coating the chicken. Or, just serve it with your favorite spicy sauce on the side!
Can I use different cuts of chicken? You sure can. While I swear by chicken thighs for their juiciness, boneless, skinless chicken breasts will work too. Just be aware that they tend to cook a bit faster, so keep an eye on them so they don’t dry out.
How do I ensure the chicken is crispy? The secret is all in the coating and the baking! Make sure each piece of chicken is really well-coated in the panko breadcrumbs. And remember what I said about not overcrowding the baking pan? That’s super important for getting that perfect, crisp exterior. Give them space to get beautifully golden!
Nutritional Estimate for Japanese Katsu Bowl
Just a friendly heads-up, these numbers are estimates, but they give you a good idea of what you’re working with! This Japanese Katsu Bowl, when served as one portion, is roughly:
- Estimated Serving Size: 1 bowl
- Calories: 550 kcal
- Fat: 25 g
- Protein: 30 g
- Carbohydrates: 50 g
It’s a really satisfying meal that balances protein, carbs, and healthy fats perfectly for a weeknight dinner!
Print
Japanese Katsu Bowl: 1 Quick, Delicious Meal
- Total Time: 40 minutes
- Yield: 4 servings
- Diet: Vegetarian
Description
A delicious Japanese Katsu Bowl featuring crispy, oven-baked chicken served over fluffy, seasoned rice. This comforting dish offers a perfect balance of sweet and salty flavors, making it an ideal weeknight meal.
Ingredients
- 1 lb boneless, skinless chicken thighs
- 1 cup panko breadcrumbs
- 1/2 cup all-purpose flour
- 2 large eggs, beaten
- 2 cups uncooked short-grain rice
- 2 1/2 cups water
- 2 tablespoons soy sauce
- 1 tablespoon mirin
- 1 tablespoon sake
- 1 teaspoon sugar
- 1/4 teaspoon salt
- Vegetable oil for drizzling
- Optional toppings: shredded cabbage, sliced green onions, tonkatsu sauce
Instructions
- Cook rice according to package directions.
- While rice cooks, prepare chicken. Cut chicken thighs into bite-sized pieces.
- Set up a breading station: one shallow dish with flour, one with beaten eggs, and one with panko breadcrumbs.
- Dredge each chicken piece in flour, then dip in egg, and finally coat generously with panko.
- Preheat oven to 400°F (200°C). Place breaded chicken on a baking sheet lined with parchment paper. Drizzle lightly with vegetable oil.
- Bake for 20-25 minutes, or until chicken is golden brown and cooked through.
- While chicken bakes, prepare the seasoning for the rice. In a small bowl, whisk together soy sauce, mirin, sake, sugar, and salt.
- Once rice is cooked, gently fold in the seasoning mixture.
- Assemble the bowls: spoon seasoned rice into bowls, top with crispy chicken, and add optional toppings like shredded cabbage, green onions, and tonkatsu sauce.
Notes
- For extra crispy chicken, ensure the panko coating is even.
- Adjust seasoning to your preference.
- Serve immediately for best texture.
- Prep Time: 15 minutes
- Cook Time: 25 minutes
- Category: Main Course
- Method: Oven Baked
- Cuisine: Japanese